
Trailmakers Motorcycle Guide: Build and Tune 3 Bikes
Build a Trailmakers motorcycle with precise gyro settings, tire traction values, and working lights. Make a cafe racer, bagger, or superbike of your own.
Jump to
How to Build a Motorcycle That Stays Upright
A Trailmakers motorcycle needs balance, steering, and controlled lean before it needs a beautiful fairing. Start with a gyro stabilizer and two gyros to give those jobs separate controls. That foundation supports three distinct builds: a compact cafe racer, a Harley-style bagger, and a fully faired superbike.
The gyro stabilizer keeps the motorcycle upright. One gyro controls yaw, turning the bike left and right, while the other controls lean. These builds combine yaw and lean through the steering inputs.
Place the stabilizer immediately behind the seat. Orient the yaw gyro to rotate around the bike’s vertical axis, then position the lean gyro to roll the bike sideways. Check that the control indicators match your steering direction: A for left and D for right.
Use these strength settings for the corresponding designs:
| Component | Cafe racer | Bagger | Superbike |
|---|---|---|---|
| Gyro stabilizer | 1.95 | 2.0 | 2.0 |
| Yaw gyro | 0.9 | 1.5 | 1.5 |
| Lean gyro | 1.45 | 1.4 | 1.5 |
Keep the functional assembly compact beneath and behind the seat. Position the engine underneath it, with the wheels centered along the bike’s length. Build the bodywork around that assembly after checking wheel direction and engine connections.
Official page: Trailmakers (playtrailmakers.com)
Motorcycle Parts and DLC Requirements
The motorcycle wheels and riding seats arrived with the free 2.5 update. Downtown Drive adds dedicated motorcycle lighting, accessories, engine skins, and New Torque City.
 Image: Steam / Flashbulb
The useful distinctions for these builds are:
- Free motorcycle blocks: Wide Motorcycle Wheel, Slim Motorcycle Wheel, Front Leaning Motorcycle Seat, and Back Leaning Motorcycle Seat.
- Downtown Drive blocks: Rounded Motorcycle Headlight, Motorcycle Headlight, Motorcycle Taillight, Motorcycle Windscreen, and Motorcycle Rack, alongside several decade-themed lights.
- Downtown Drive skins: Two Dragon Engine skins provide different engine appearances for the bagger and superbike.
- Steam Workshop: Community vehicles are available alongside building your own from scratch.
Separate the functional parts from the styling when choosing your design. Use the free wheels and seats for the chassis, then substitute available lights or decorative blocks wherever you are changing the appearance.
New Torque City also supports multiplayer access through a host who owns Downtown Drive, allowing players without the DLC to join that map.
Build a Retro Cafe Racer
The cafe racer uses a Back Leaning Motorcycle Seat, a Bulldog Engine, a slim front wheel, and a wide rear wheel. Its compact body leaves the mechanical parts exposed, while paired headlights and side number plates establish the retro look.
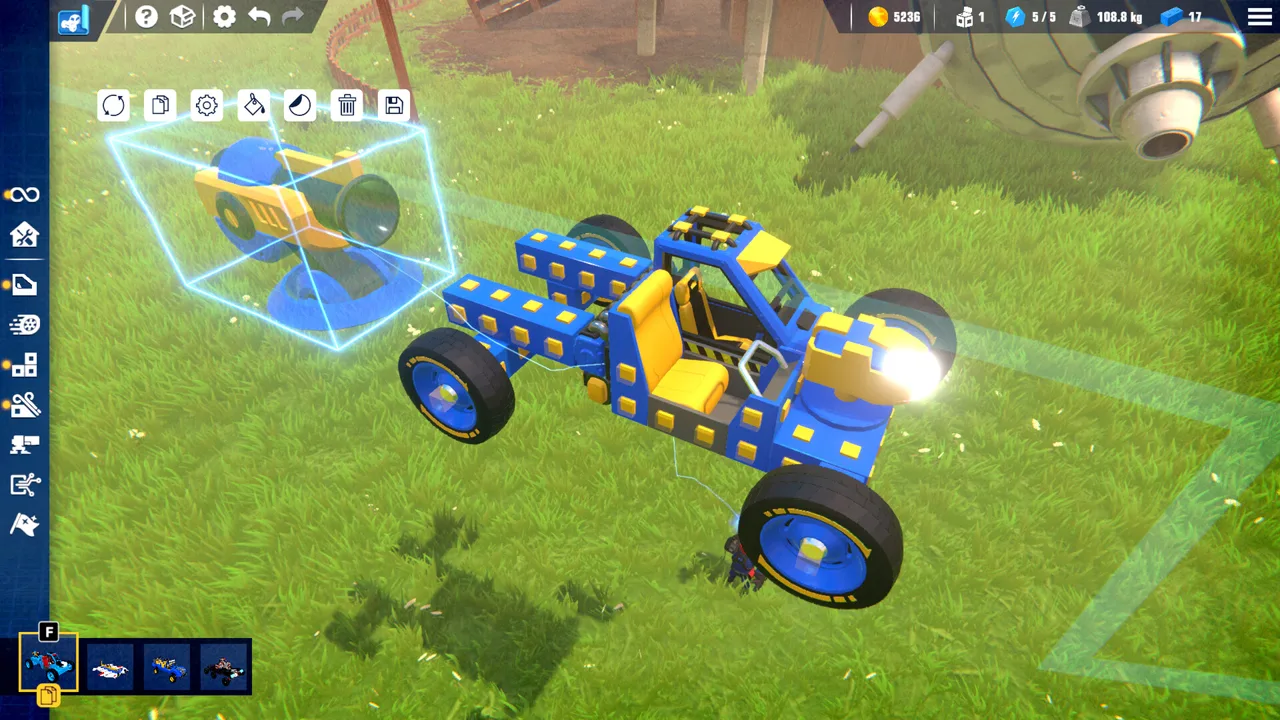 Image: Steam / Flashbulb
Assemble the chassis
- Place the Back Leaning Motorcycle Seat.
- Attach the gyro stabilizer behind it and set its strength to 1.95.
- Fit the yaw gyro beneath the center of the bike at 0.9 strength.
- Position the lean gyro between the yaw gyro and stabilizer, then set its strength to 1.45.
- Mount the Slim Motorcycle Wheel at the front and the Wide Motorcycle Wheel at the rear.
- Fit the Bulldog Engine beneath the gyro assembly and disconnect front-wheel power in its settings.
Flipping the wheels for underside mounting can reverse their rotation. Check each wheel’s direction and enable Reverse where necessary so both propel the bike forward.
Configure the tires as follows:
| Setting | Front wheel | Rear wheel |
|---|---|---|
| Tire pressure | Slightly reduced | 0.7 |
| Sideways traction | 0.1 | 0.2 |
| Forward traction | 0.1 | 0.4 |
The front tire pressure has no specific numerical target in this setup. Lower it slightly while keeping the rear at 0.7.
Add exhausts that provide extra thrust
The Bulldog Engine supplies the conventional drive, while two Rocket Thrusters provide additional acceleration and double as exhaust cans.
Build the pipes from tube elbows and straight tube sections, then attach a Rocket Thruster at the end of each side. Configure both thrusters with:
- Activation input: W
- Delay: 1 second
- Speed: Leave at its default setting
The delay postpones the extra thrust when you press the throttle, giving you a moment before the rockets engage while exiting a corner.
Finish the cafe racer body
Stack two Rounded Motorcycle Headlights vertically at the front. Use a rounded inverted 1-by-2 piece beneath the rear belly, then attach the Motorcycle Taillight to form the tail.
A Sharp Air Intake can serve as a rear cowling. Add downward-curving rounded 1-by-1 panels on either side for number plates, then finish their edges with Chrome Trim End pieces.
For a working brake light, set the taillight to Off by Default, disable Toggle Input, and bind it to your brake input. Leave one front headlight on and make the other toggleable for a separate high-beam effect.
Build a Harley-Style Bagger
The bagger uses a Back Leaning Motorcycle Seat and a Dragon Engine. Its extended forks, broad front fairing, saddlebags, and long exhaust pipes give it a much larger silhouette.
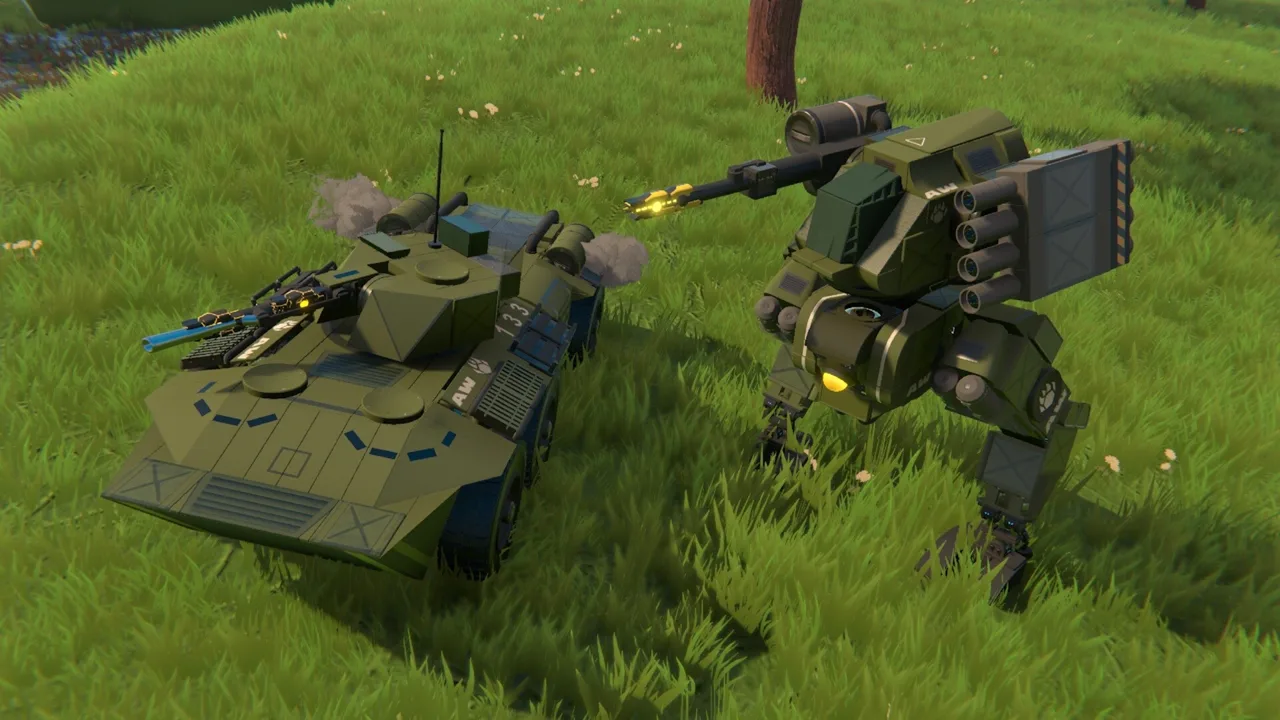 Image: Steam / Flashbulb
Set up the frame and wheels
Place the stabilizer behind the seat at 2.0 strength. Fit the yaw gyro underneath it at 1.5, with the lean gyro behind the stabilizer at 1.4.
Mount the Dragon Engine beneath the assembly. Add a Front Grill ahead of the engine to create the appearance of a radiator shroud.
Extend the front forks using paired 1-by-1-by-2 Tube Slopes, then attach the front wheel. Center the Wide Motorcycle Wheel at the rear and disconnect the front wheel from engine power.
| Setting | Front wheel | Rear wheel |
|---|---|---|
| Tire pressure | 1.0 | 1.0 |
| Sideways traction | 0.1 | 0.2 |
| Forward traction | 0.1 | 1.0 |
| Auto Brake | On | On |
Use 1.0 rear forward traction for the finished setup. The lower 0.4 setting is an alternative, but raising it to 1.0 gives this build stronger acceleration and braking, with enough drive to lift the front wheel.
Shape the bags and fairing
Extend the rear with a 1-by-2 block, then form the fender from paired Rounded Wedge 2-by-1 pieces. Build each saddlebag with a rounded wedge underneath and a Rounded 2-by-1 block above it.
A sideways pop-up car light completes the rear face of each bag. Set these lights to Off by Default, disable Toggle Input, and assign S to make them illuminate while braking. Add Square Tail Lights separately for toggleable rear lighting.
For the front fairing:
- Create a supported base from 1-by-2 blocks.
- Position a 70s Headlight in the center.
- Build the upper profile with 2-by-1 wedges and smaller wedges.
- Fill the underside with a rotated 1-by-2 wedge and wedge corners.
- Add 1-by-2 side panels to widen the fairing and provide space for decals.
Attach rounded metal tubes beside the radiator shroud for highway bars.
Add throttle-linked exhaust smoke
Use tube elbows and a Tube Double T to connect the exhaust pipes to the engine mounting area. Extend each pipe rearward with a 1-by-4 tube and finish it with a Smoke Generator.
Set each generator to Off by Default, disable Toggle Input, and assign W. This links the smoke effect to throttle input.
A Small Servo Joint with its cap facing outward works as a decorative air filter. Finish the opposite side with a Fire Truck Siren if you want the oversized horn treatment.
Build a Fully Faired Superbike
The superbike switches to the Front Leaning Motorcycle Seat and a Dragon Engine with the four-cylinder motorcycle engine skin. Its riding position and enclosed bodywork create a sportier profile.
Assemble the functional core
Set the stabilizer behind the seat to 2.0, then configure both the yaw and lean gyros to 1.5. Keep their left and right inputs aligned with A and D.
Mount the engine beneath the seat assembly. Fit a Motorcycle Headlight at the front, then position the Slim Motorcycle Wheel underneath the front cowling area.
Place the Wide Motorcycle Wheel at the rear, raised one block in the layout. Disconnect front-wheel engine power and check the rotation direction of both wheels.
| Setting | Front wheel | Rear wheel |
|---|---|---|
| Tire pressure | 1.0 | 1.0 |
| Sideways traction | 0.1 | 0.2 |
| Forward traction | 0.1 | 1.0 |
Enable Auto Brake on the front wheel. The rear forward traction of 1.0 supports the hard acceleration and wheelies this design is built around.
Build the exhaust and tail
Route tube elbows and a straight tube section along each side, using Smoke Generators as mufflers. Configure the generators to activate with W, with Off by Default enabled and Toggle Input disabled.
Support the rear body with a 1-by-2 block and center a Motorcycle Taillight on it. Set the taillight to S, disable toggling, and make it off by default for brake-linked illumination.
Shape the rear cowling with Rounded Wedge Corner 2-by-1-by-1 pieces. Duplicate and rotate them to form matching sides, then fill the remaining curve with a Small Rounded Corner 1-by-1.
Two Friction Pads can create the appearance of a passenger seat.
Close the front fairing
Use Rounded Wedge Corner 2-by-1-by-1 pieces to establish the lower front profile. Continue the underside with a Rounded 1-by-2 piece, then fill the taller side area with a vertically oriented Rounded 2-by-1.
Finish the side with a Rounded Wedge 2-by-1 and a Wedge Corner 2-by-1-by-1. Copy the completed assembly to the opposite side and check its rotation.
Make the front headlight toggleable on 1 and off by default if you want separate lighting control.
Fix Steering, Acceleration, and Landing Problems
Check the relevant component before changing the entire build:
- The bike falls sideways: Inspect the gyro stabilizer’s orientation and strength, then compare it with the settings for your chosen chassis.
- Steering turns or leans the wrong way: Check the yaw and lean gyro orientations and their A/D input indicators.
- The wheels fight each other: Inspect rotation direction after flipping a wheel. Reverse the affected wheel’s direction.
- The engine drives the front wheel: Open the engine settings and disconnect front-wheel power.
- The cafe racer surges under throttle: Check that both exhaust thrusters retain their 1-second delay.
- The bagger accelerates weakly: Set rear forward traction to 1.0 and leave Auto Brake enabled on both wheels.
Keep the low-traction configurations when reproducing these city-oriented builds. For faster cornering on open roads, experiment with more tire traction and compare the handling before making further changes.
Version 2.5.3 also addressed motorcycle-related problems:
- Fixed cases of Motorcycle Wheels clipping through terrain after jumps.
- Added the 2.5 blocks to the Pioneers Campaign.
- Smoothed out rough road sections and corrected misplaced colliders in New Torque City.
If a wheel sinks into terrain after a jump, check your game version before rebuilding the chassis around that behavior.
Continue with
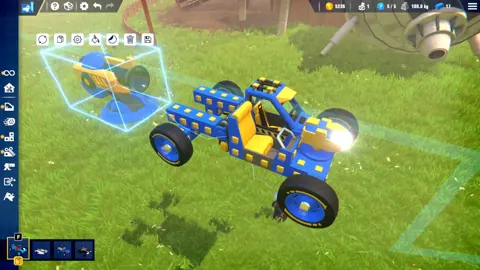 Trailmakers Go Kart: Build and Tune a Stable RacerBuild a Trailmakers go kart with a low chassis, balanced weight, and responsive steering. Learn how tire settings and rear downforce shape its handling.
More in Builds

Trailmakers Helicopter Guide: Fix Spin and Tune Lift
Build a Trailmakers helicopter with servo settings that tame rotor torque, compare blade options, and learn how to control lift without constant climbing.
Trailmakers Mech Guide: Build a Stable Walking Base
Build a Trailmakers mech with stable leg cycles, smoother suspension, and better slope traction. Learn what Mech Amok adds and how to shape a walking base.
Continue exploring
Trailmakers Ultimate Edition: Price and DLC Explained
Trailmakers Ultimate Edition costs $59.99 on Xbox. Compare editions, explore multiplayer options, and check the included DLC before choosing your bundle.
Trailmakers Map Guide: Explore Worlds and City Roads
Find your next Trailmakers map, explore New Torque City, compare campaign worlds, and learn what update 2.5.3 changed for driving, races, and sandbox play.
Join the community
Official channels for news, updates and player help: