
Trailmakers Go Kart: Build and Tune a Stable Racer
Build a Trailmakers go kart with a low chassis, balanced weight, and responsive steering. Learn how tire settings and rear downforce shape its handling.
Jump to
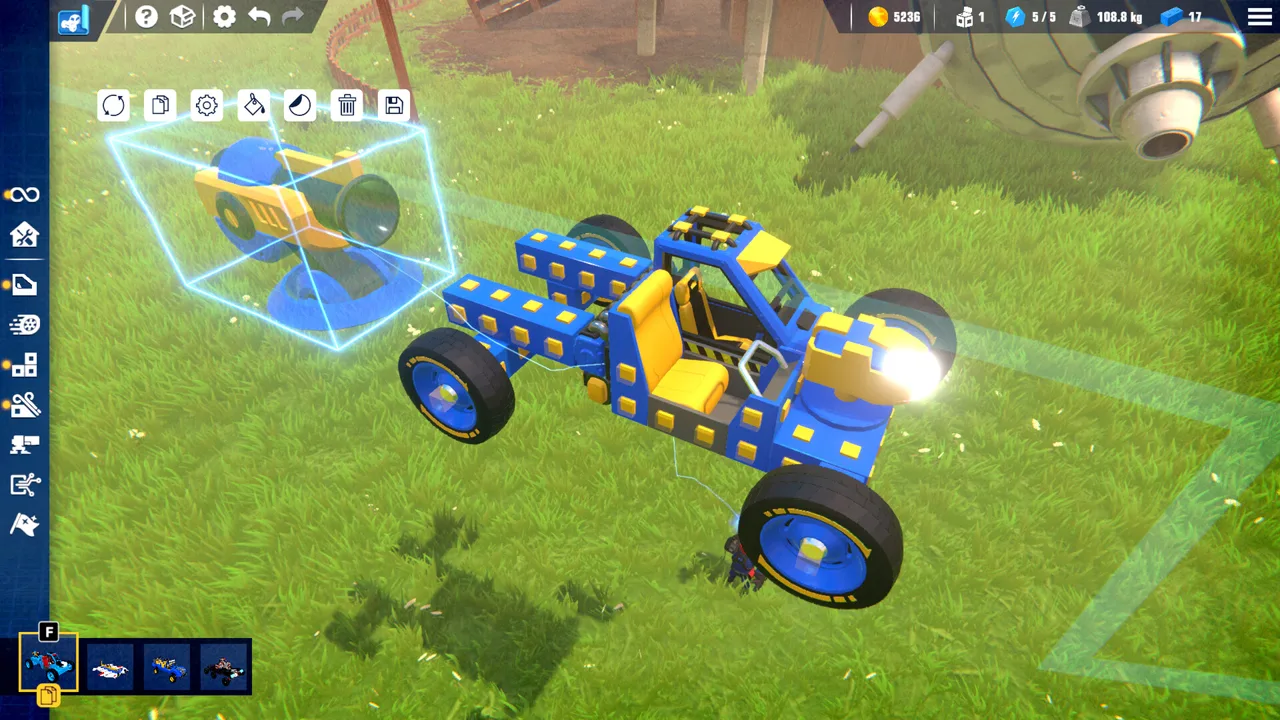
How to Build a Controllable Kart
A Trailmakers go kart gets frustrating fast when every steering input ends in a spin. Start with a low chassis, keep the weight near the middle, and tune the steering before chasing more speed. Work on balance, grip, and power separately so you can tell which change actually helps.
Build around the seat and keep heavy components low. Leave decorative bodywork until you have a layout worth keeping; moving an engine is easier before you surround it with panels.
Use weight placement to work on the handling:
- If the kart keeps pushing wide through corners, experiment with moving weight away from the nose.
- If the rear swings around too readily, move some weight forward from the back.
- Keep components balanced across the chassis so your layout does not favor one side.
Avoid treating weight distribution as the only adjustment. Steering input, tire grip, and downforce all deserve attention before you rebuild the entire frame.
Official page: Trailmakers (playtrailmakers.com)
Set Up Steering Before Adding More Power
The 2.3 update added Steering, Linear, and Hold modes to the Steering Hinge, Large Steering Hinge, and Racing Hinge. Use Steering mode for the steering assembly; that remains their default behavior.
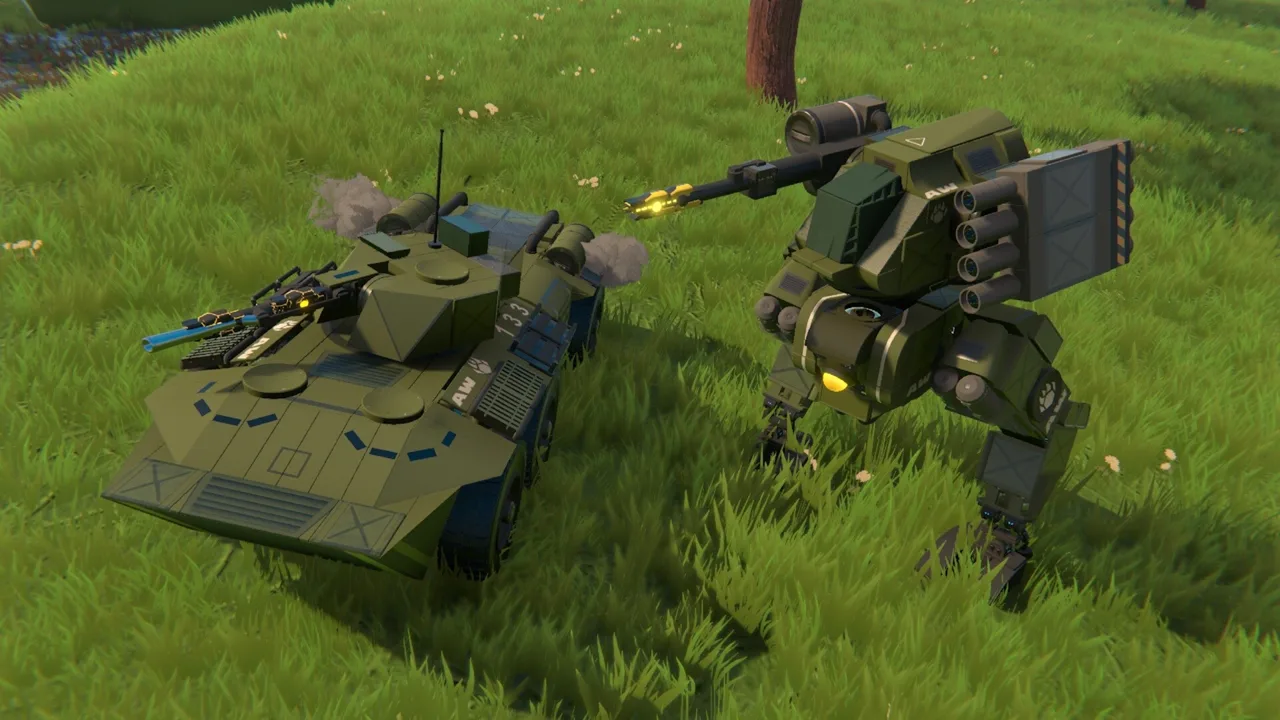 Image: Steam / Flashbulb
Check that the wheels respond in the intended direction before working on cornering. Then compare gentle turns with sharper inputs on the same stretch of ground.
If small inputs make the kart change direction too abruptly, reduce the steering angle and repeat the turn. If it struggles to follow a corner, check the weight balance and available grip before increasing steering further.
Keep the power setup simple during these adjustments. Start with an engine, then experiment with additional propulsion after you can control the chassis. Thrusters and propellers appear in fast car builds, but adding them introduces another variable while you are still sorting out steering.
Do not borrow a supercar’s speed target for a compact kart. Judge each power change by whether you can still brake, turn, and recover cleanly.
Tune the Tire Settings Added in Update 2.3
The March 12, 2026, 2.3 update introduced new wheel physics and added Tire Pressure, Sideways Traction, and Forward Traction sliders. It also improved driving reliability on structures.
 Image: Steam / Flashbulb
Use those adjustments to separate different handling problems:
- Sideways Traction: Adjust this while comparing how the kart holds a corner and how readily the rear slides.
- Forward Traction: Adjust this while comparing acceleration and grip along the direction of travel.
- Tire Pressure: Test this separately after establishing a baseline with the traction settings.
Change one setting at a time. Repeat the same maneuver before touching another slider, and return to the previous setting if the result feels worse.
Keep straight-line acceleration and cornering tests separate. A setting that changes how the kart launches does not answer whether it will hold its line through a bend.
Balance Downforce Around the Chassis
Downforce adds grip where it acts on the vehicle. Rear downforce can help stabilize a car, while adding front downforce changes the balance toward stronger front-end grip.
 Image: Steam / Flashbulb
If the kart becomes unstable as speed rises, try a rear spoiler before adding front aerodynamic parts. If you later add front downforce to improve cornering, reassess the rear grip immediately.
Give spoilers room to work. Leave aerodynamic clearance above and below them rather than enclosing them in solid bodywork. Grille pieces can provide visual coverage while allowing airflow through.
Use the aerodynamics display when checking the finished shape. Look at which surfaces catch airflow, especially around spoilers and any body panels you add afterward. Retest after changing those panels; appearance and airflow are connected parts of the build.
Finish the Body Without Complicating the Chassis
Use decals for details such as racing numbers, trim, and wheel patterns before adding more structural pieces. Tiled decals and layered designs offer ways to create detail without constructing every shape from blocks.
For aerodynamic bodywork, experiment with shields where you need a thin surface. Keep any shielding around the wheels clear of the steering assembly.
Save hinge-based body shaping for later experiments. Automatically folding decorative sections can create unusual shapes, but the technique can also cause glitches. Keep a hinged section connected through its hinge alone; additional connections can interfere with its movement.
Maintain a simple version of the chassis alongside the decorated build. Blueprint Folders, introduced on all platforms in update 2.3, give you a place to organize those variants while you experiment.
Continue with
 Trailmakers Helicopter Guide: Fix Spin and Tune LiftBuild a Trailmakers helicopter with servo settings that tame rotor torque, compare blade options, and learn how to control lift without constant climbing.
More in Builds

Trailmakers Mech Guide: Build a Stable Walking Base
Build a Trailmakers mech with stable leg cycles, smoother suspension, and better slope traction. Learn what Mech Amok adds and how to shape a walking base.

Trailmakers Motorcycle Guide: Build and Tune 3 Bikes
Build a Trailmakers motorcycle with precise gyro settings, tire traction values, and working lights. Make a cafe racer, bagger, or superbike of your own.
Join the community
Official channels for news, updates and player help: